Photographing Your Own Hunts
For many photographers who want to get started it can be difficult to find good hunting subjects. A good hunting partner is hard to find and a good hunting partner to photograph can be equally tough. A great way to meet new people is to network. It seems obvious but for some people it’s a scary proposition. If you want some tips on easy networking read my blog post “Easy Networking - Instagram meetups”. That said there will be plenty of times where going hunting with someone else won’t fit your schedule or your schedule won’t fit theirs. When that happens it can be easy to hunt for yourself without taking a camera and making it a priority to capture content. It’s extra time, extra weight and part of your focus is taken from the hunt itself and placed on the potential images to be captured. If your goal is to expand your skillset, portfolio, social media presence and grow your image and brand then you need to buck up and carry your camera anytime you go into the field. This is my insight on Photographing Your Own Hunts.
Depending on the type of hunt carrying your camera gear into the field on a solo hunt can be a big deal. For myself adding another ten pounds of gear to my kit on a solo backpacking trip into the mountains can be a tough pill to swallow. 9 out of 10 times it is absolutely worth it and I rarely go without. If weight is an issue the first key is to trim down your normal kit. I like to carry 2-3 lenses, one camera body, batteries, a few extra cards, minimal filters and if I’m carrying a spotter I make sure I have a second base plate to use for my camera. The tripod is key though and if you aren’t taking a spotter you should have a lightweight tripod you can use for photos.
A basic backcountry photo kit I’ll carry on a backpack hunt in the mountains. Nikon D850 w 50 f/1.8, 24-120 f/4, 2 spare batteries, Polarizing filter, cleaning kit, extra sd cards and a blower.
As far as lenses I will almost always go with a zoom lens and 1-2 prime lenses. My two favorites for a zoom would be a 24-70 2.8 or a 24-120 f4. This allows me to cover a multitude of focal lengths and cover my bases. If I know the chance of seeing lots of wildlife is good I might swap this for a 70-200 or an 80-400. This is based off terrain and location. As far as primes I like to go with something that excels in low light. Getting shots in camp at night or at first or last light will provide some unique shots and having a prime lens in the f1.4-f2 range is key. Any easy choice is a 50 1.4 or 1.8. It’s a very light lens, it shoots amazing images and is inexpensive. Next would be a 20mm 1.4 or a 35 1.8. Consider weight and what it is that you’d want to shoot. A wide angle will be able to shoot at lower shutter speeds hand held and still get sharp images. It also allows for some unique perspective of yourself or camp at night.
A quality shot taken on a Nikon D800 with a 20mm 1.8 lens.
A carry method that keeps your camera handy will be key. I like to use a Cotton Carrier on almost every hunt especially when my job is to shoot photos. It also works exceptionally well on my personal hunts. It does get in the way when you draw your bow though so make sure you test your shooting position before an opportuntiy presents itself. The setup is simple and quiet and the best I’ve found.
Camera on a Cotton Carrier attached to a backpack strap.
What gear you take is key but that really is just the beginning. Trying to balance hunting and shooting photos can be tough but keeping a mindset about what you can shoot that will be unique or captivating will be key. Two specific shots that are easy to get on your own hunts are wildlife and landscapes. As hunter we encounter some amazing places and see wildlife doing things that are rarely seen by the general public. Having a camera handy to capture this will allow you to shoot some epic moments afield. When our job is to document someone else hunting we sometimes focus less on the unique characteristics of the locations we hunt in. Without a human subject we should be able to focus more on the landscape around us. Is light hitting a peak just right during sunrise? Is there a waterfall set in the timber on a steep hillside? Is there a unique texture of the trees on a hillside? Did you just stumble into the most epic stand of old growth timber you’ve ever seen?
Wildlife is another great thing to document on any hunt but especially on a solo hunt. Hunting solo means there is half the scent, movement and noise. This means you should be able to get closer to animals and have better opportunities to shoot closeup shots of wildlife. This is where the carrying a long lens can be key. If I’m going into open country with lots of potential I’ll buck up and carry the extra weight.
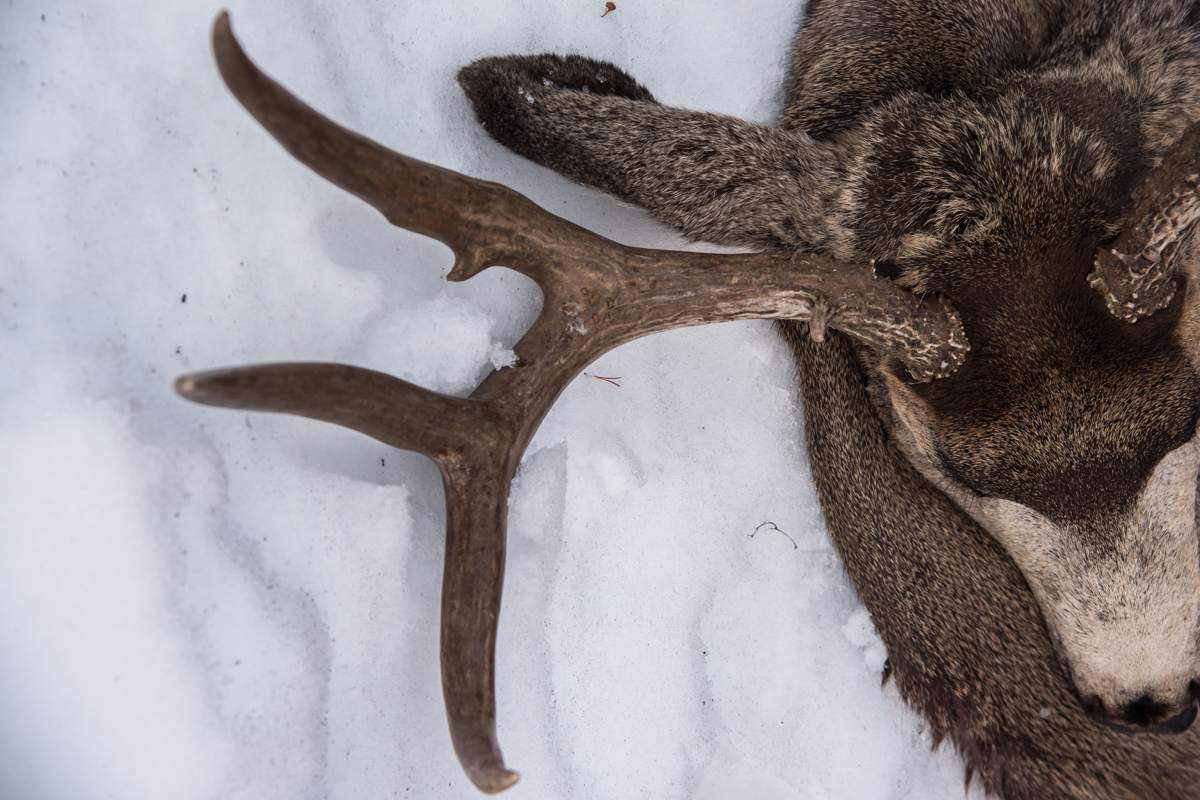
Now lets say you found what you were hunting for and made a kill. Now what? A good start is to take shots of you grabbing the animal by the horns from your perspective. This is a cool perspectives that will show the viewer your first view as you inspect your quarry.
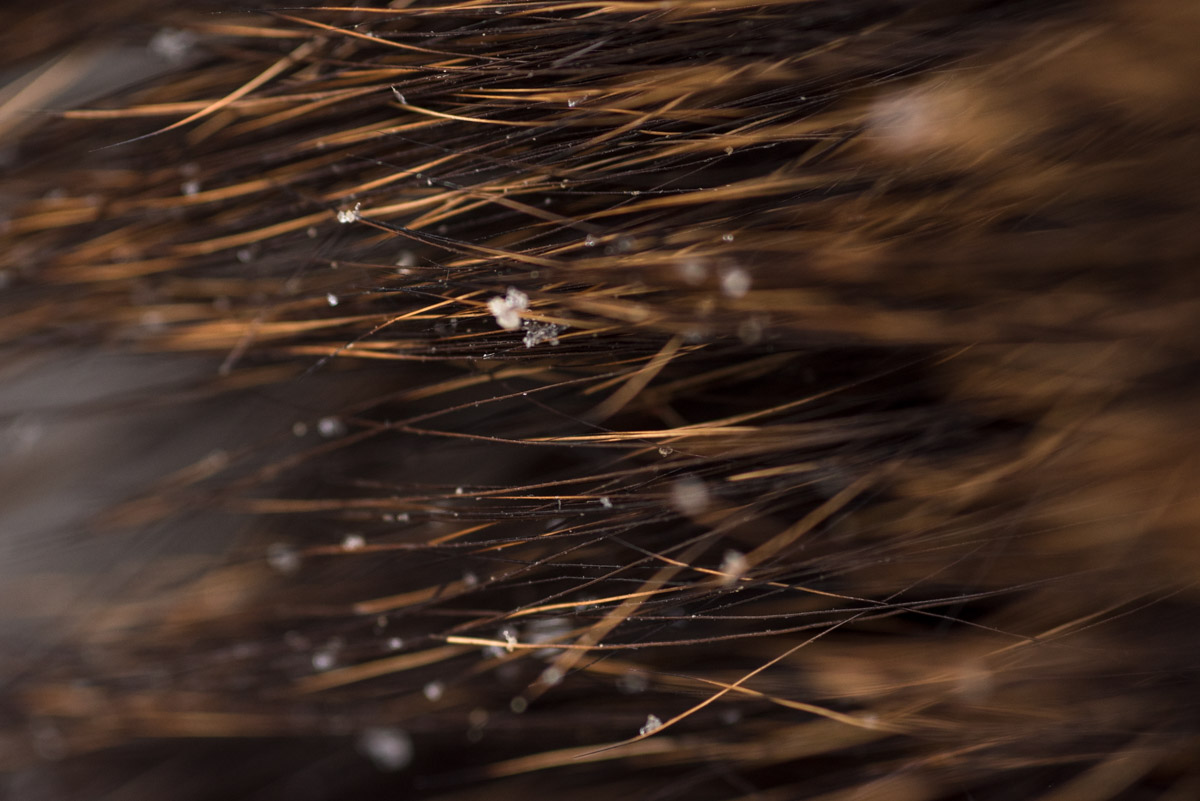
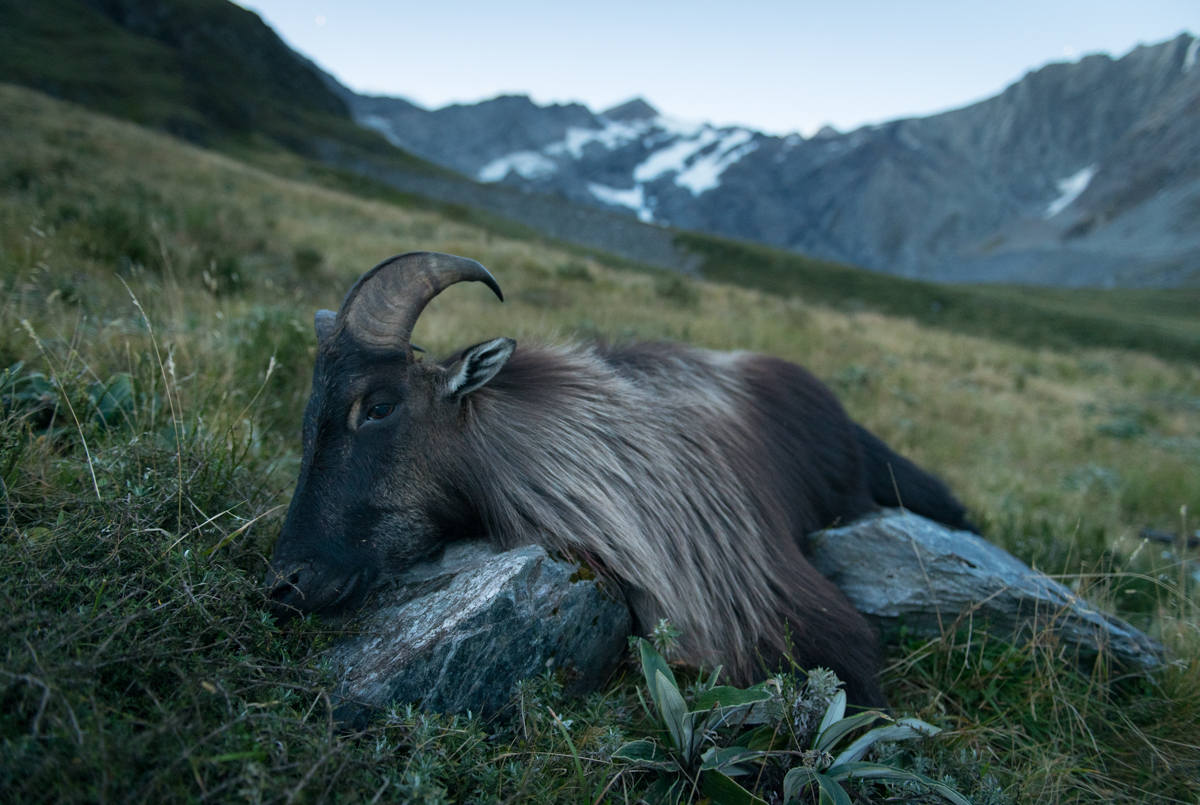
From there I like to shoot details of the animal. Eyes, hooves, texture of the fur. These can provide some unique looks at the animal that can be overlooked when you’re with someone who wants great trophy photos.
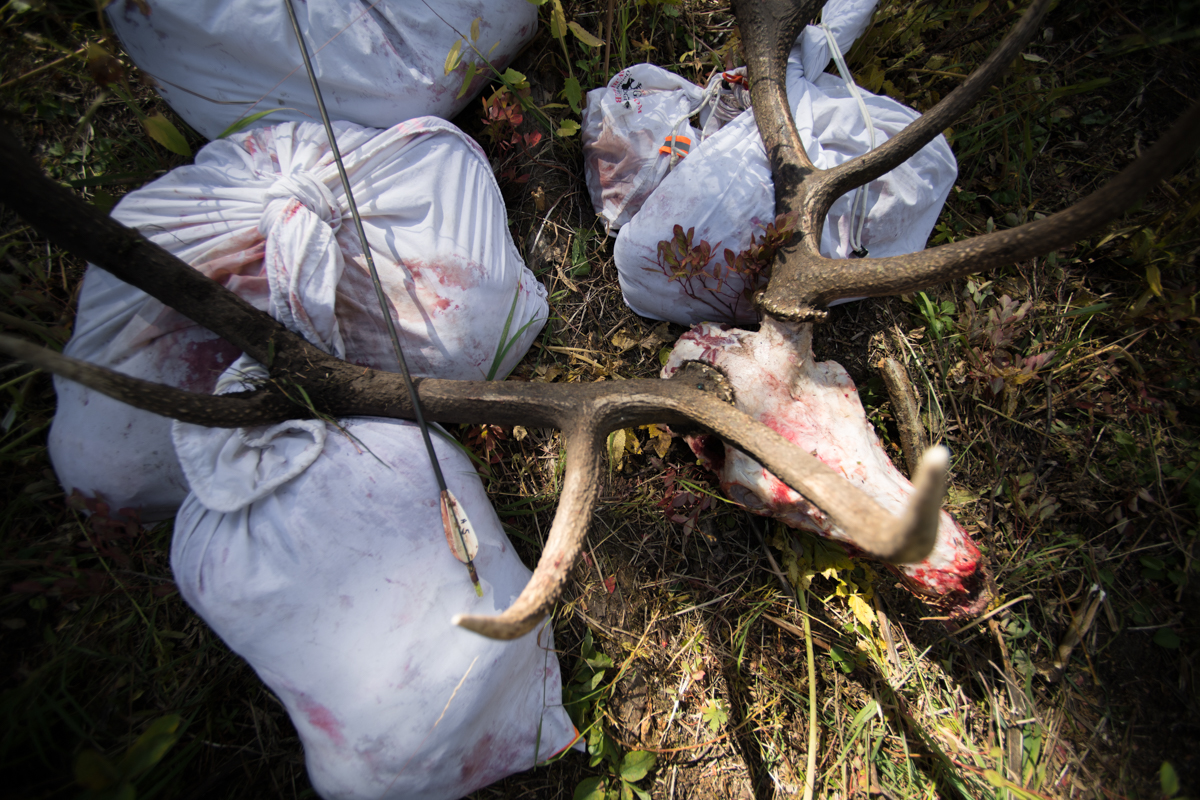
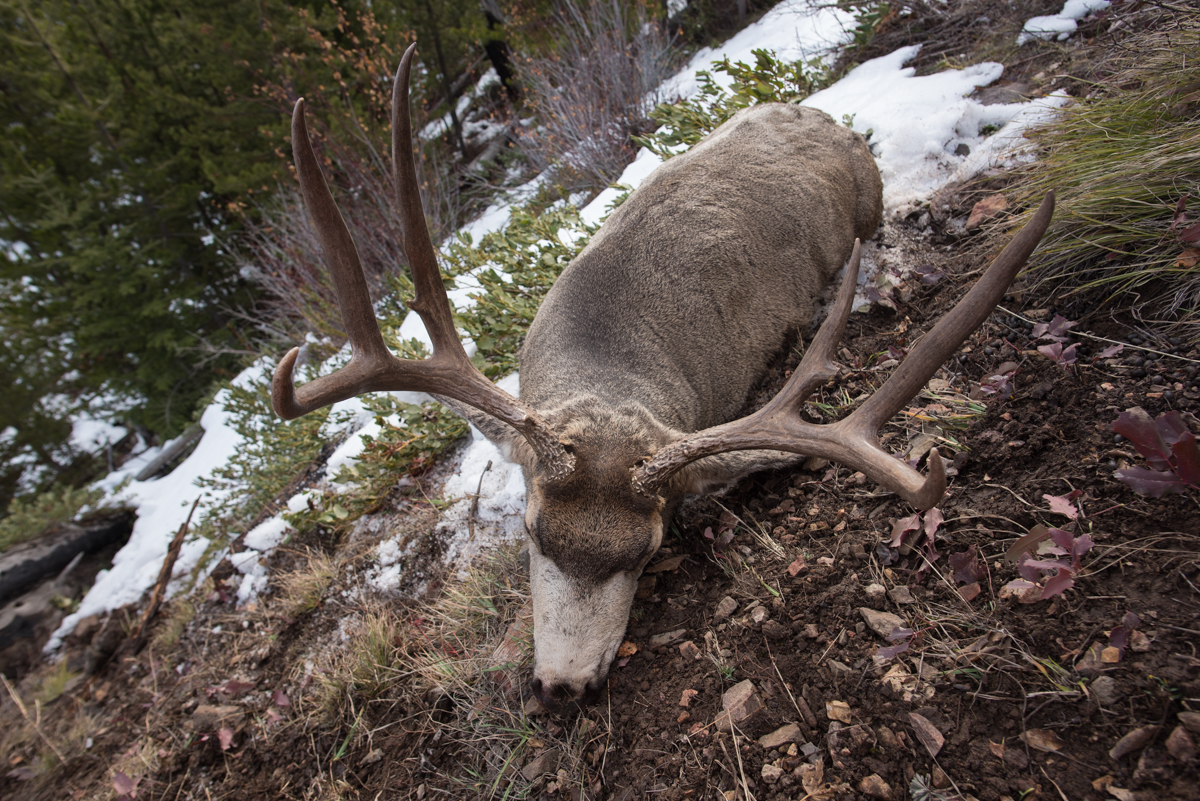
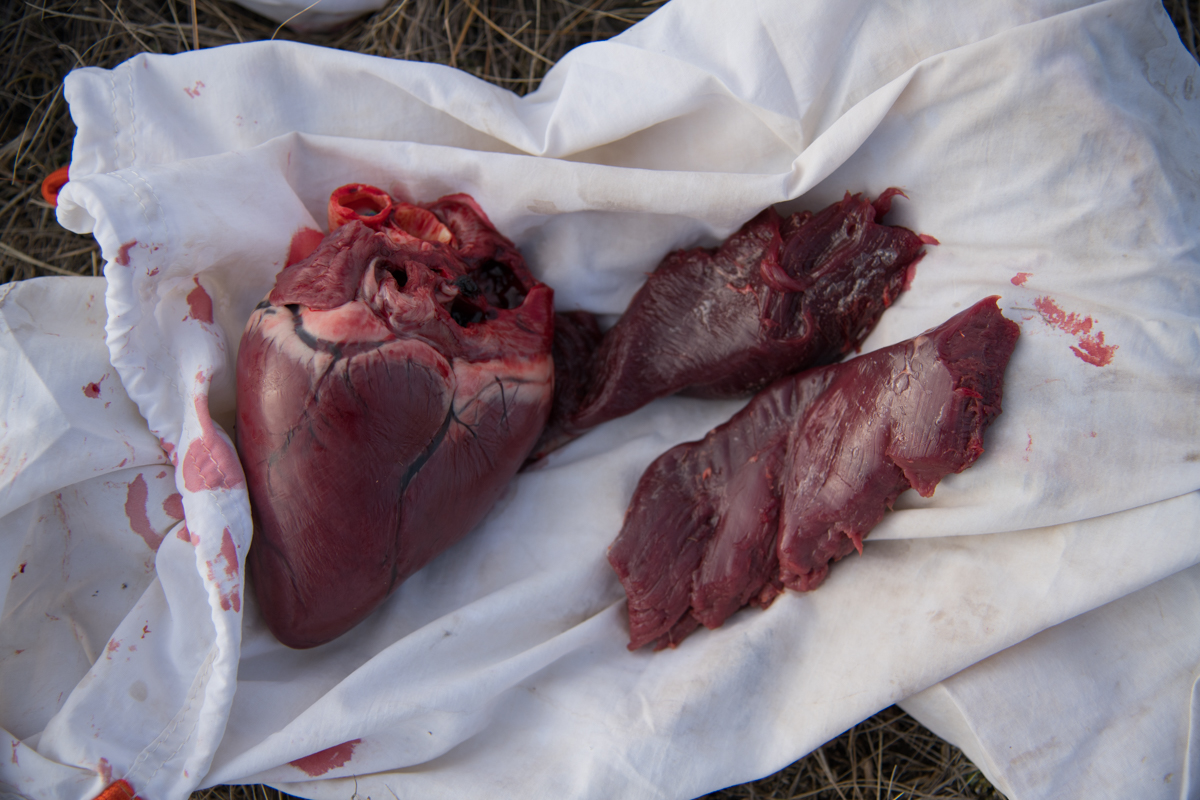
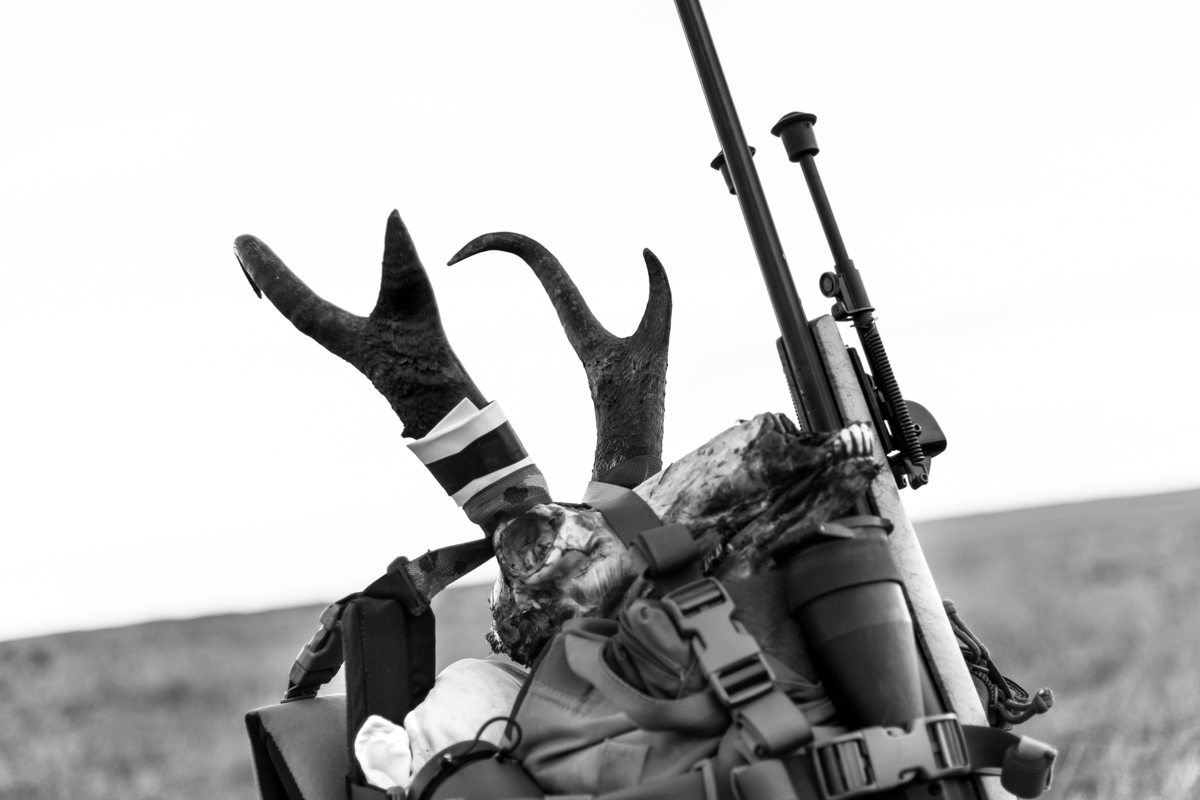
From there I’ll set up my tripod to take a few trophy photos. These are tough to crush but will at the very least document your hunt and provide something to send to buddies! Be sure you set your focus and exposure first and then shoot images on a timer to get the best solo trophy photos. From there I’ll shoot photos of animal as it lays, images of the processing of the meat, and then the animal/meat packed up in my backpack.
By now your probably pretty tired and ready to get back to the truck and crack a cold one. You could set up more shots on the tripod with a timer packing out or if you brought a wide angle do some hand held shooting while you walk out. If nothing else shoot a few images when you get back to the truck. An elk rack leaning up against the truck, a bloody backpack sprawled out on the ground, or a fresh cold beer cracked on the tailgate all make for some great images to wrap up a successful solo hunt.
I hope this write up helps give you some ideas for your next solo hunt. If you have more questions or want to see us cover something along these lines in the future please leave a comment below!


